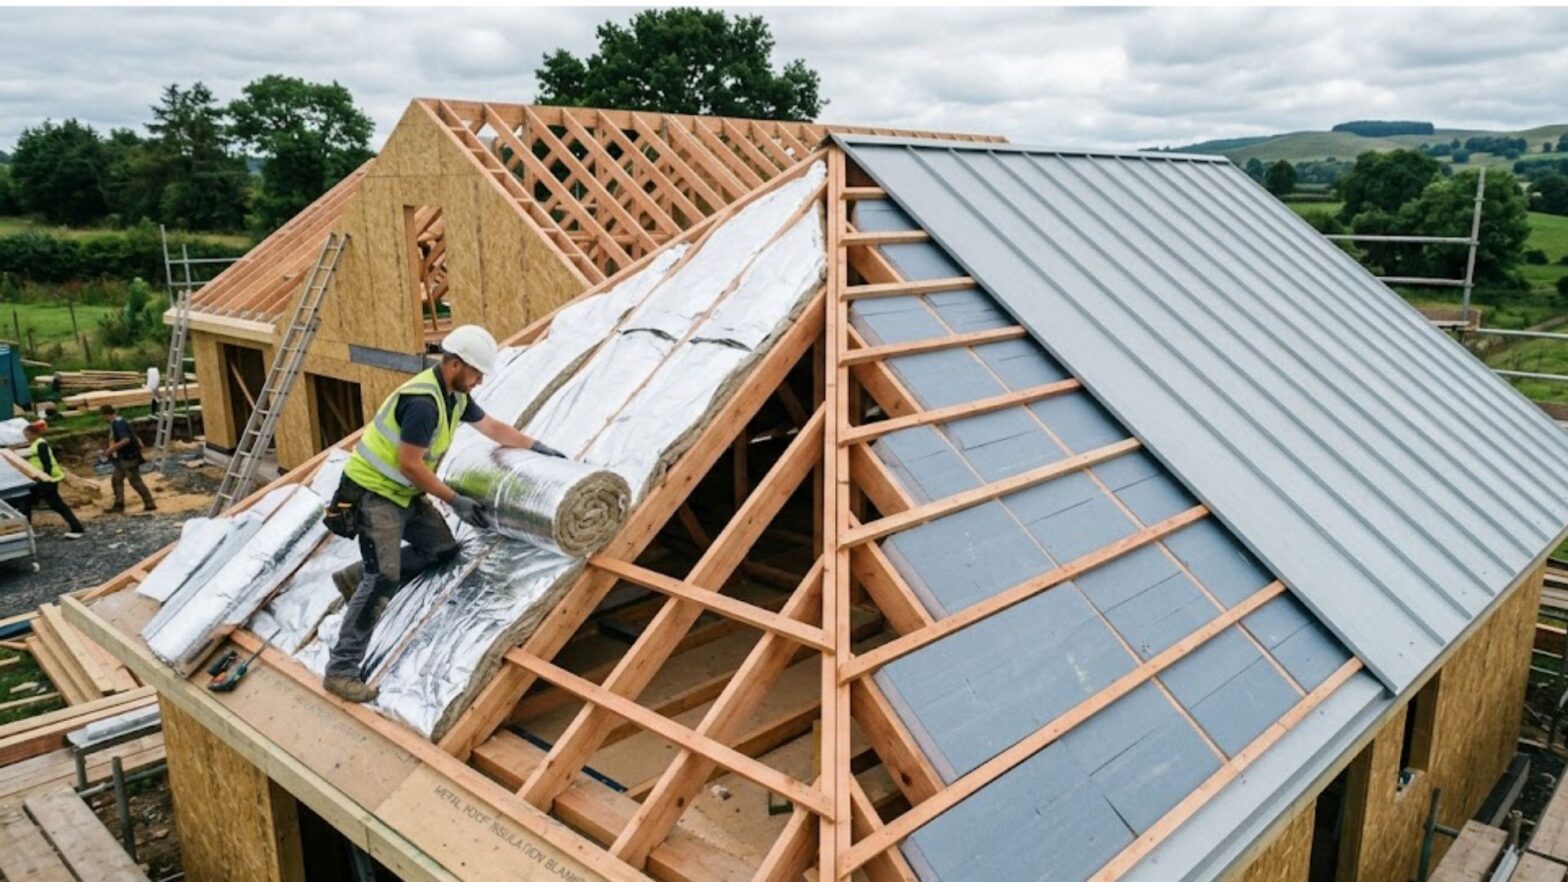
The roofers bracket is also known as roof jacks, which are attached to a roof and then a cradle wooden plank. This creates a platform to stand on or stack different materials and tools. They are J-shaped on the long end and curved on the other. The roofers’ bracket are made up of heavy-duty metal and are designed for easier installation and quick removal of the roofs. When installed in the best way, the tiny yet handy little devices offer roofers a stable anchor. They are crucial to ensure the safety of work on a pitched roof. It is imperative to ensure proper installation and the removal of the brackets because they will keep the workers safe and prevent any unnecessary damage to the roofing materials and shingles.
The initial platform is created with a ladder to reach the lower end of the roof, and at minimum, two jacks are installed based on the span of the platform. The roof jacks can be fixed or adjustable according to the angle of the roof pitch. Roof brackets have holes that anchor them to the roof for stability and better support. The roof brackets must be evenly spaced throughout the area of work. When the jacks are secure, the wooden plank is placed throughout to support the weight of the workers and materials.
It is imperative to remember that not every job needs jacks and scaffolding. However, it is handy and is a relatively quick and easy system to set up and dismantle. It is a crucial safety feature for steep roofs. The angle of the roof determines the number of jacks needed, and irrespective of the width of the work area, they are usually spaced two to four feet apart. The roof brackets are usually recommended on one-story roofs with a lower pitch.
The Different Types of Roofers Bracket
There are different types of roofers bracket with different features. Primarily, there are two:
Fixed Roof Brackets: The roof brackets must hold the wooden board at a certain angle to create a safe platform for the roofers to work on. The accurate angle will depend on the pitch of the roof. The fixed brackets hold the plank at one angle. Therefore, you ought to purchase the exact bracket for the roof that you want to use it on.
Adjustable Roof Brackets—Adjustable roof brackets can be adjusted for a wide array of roof pitches. Roofers might find it easier to use these brackets because they can be used on more roofs.

How to Use the Roof Brackets?
Using a ladder to reach the lowest section of the roof, you have to count up to few rows of shingles to determine where the first set of the jacks shall be placed. You have to lift the sheathing and locate the rafter line to hold the nails in place and reduce damage to the shingles. Attach the jack using the nails to the rafter line. This will ensure that the nail head lies flat and is close to the top of the teardrop shape. To ensure safety, it is imperative to nail the roof jack in the right way.
The first nail will hold the jack in the rafter and the additional nails are there for support. Roofing nails must not be used for the jacks. After the first jack is installed, you ought to space the next one and install it, and the process continues until the first span’s width is finished. After the first row is complete, you can place a study board on the j-end of the jack. The board must have an overhand on both ends, and it must fit into the curved part of the bracket that has a hole to secure the board within the jack.
Once the first row is complete, you can start by moving upwards to the next row of jacks. When the project is complete, you have to remove the boards and then the roof brackets by tapping upwards on it with a hammer and disengaging the jack from the nails. When the jack is free, you must drive the nails into the roof so they don’t poke through the roofing. Using the flat pry bar to hold the shingle up, you can drive the nails in.
Recent Posts
Categories
- insulated roofing panels 25
- sandwich roofing panels 15
- roofers bracket 4
- gutter accessories suppliers 11
- metal ceiling battens 6
- metal fascia for modern roof 4
- Uncategorized 12
- metal roof insulation blanket 5
- cladding building materials 2
- top hat roofing 2
- metal roofing suppliers 9
- gutter and fascia replacement 3
- metal roof batten 18
- top hat battens 1
- metal fascia 2
- steel roof batten 40
- roof battens and purlins 7