Ceiling battens are those vital components of your roofing structure that support ceiling panels, tiles, and other finishing materials. Created from durable metals like aluminum, titanium, and stainless steel, metal ceiling battens act as the framework upon which the ceiling systems are installed.
When it comes to constructing or renovating ceilings, choosing the right support system is crucial. Metal ceiling battens have become the go-to solution for builders and DIY enthusiasts alike, thanks to their durability, ease of installation as well as compatibility with a wide range of ceiling materials. Whether you’re working on a residential project or a commercial space, understanding how to properly fix metal ceiling battens will ensure a smooth finish and long-lasting results.
Why Choose Metal Ceiling Battens?
Before diving deep into the installation process, it’s worth understanding why metal ceiling battens are a superior choice:
1. Strength and Stability: Unlike timber, metal battens don’t warp, twist, or rot over time.
2. Lightweight: Easier to handle and also install, especially in overhead applications.
3. Fire Resistance: Metal battens offer better fire safety compared to wood.
4. Precision: Manufactured to exact specifications, ensuring uniformity and a level ceiling.
These advantages make metal ceiling battens ideal for both new constructions and retrofits.
Tools and Materials Required
To get started, gather the following tools and materials:
1. Metal ceiling battens
2. Measuring tape
3. Chalk line or laser level
4. Tin snips or a metal cutting saw
5. Screw gun or drill
6. Self-drilling screws
7. Safety gear (gloves, goggles, helmet)
8. Ceiling clips or brackets (depending on your ceiling system)
A Step-by-Step Installation Guide:
1. Plan Your Layout
Start by measuring the ceiling area and marking the layout for your battens. Battens are typically spaced 450mm to 600mm apart, depending on the ceiling material and load requirements. Use a chalk line or laser level to ensure straight lines and accurate spacing.
Pro Tip: Always refer to local building codes and manufacturer guidelines for spacing and load-bearing specifications.
2. Install Perimeter Channels
Fix perimeter channels along the walls where the battens will terminate. These channels provide support and alignment for the battens. Use a spirit level to ensure they’re perfectly horizontal.
3. Cut Battens to Size
Using tin snips or a metal cutting saw, cut the metal ceiling battens to the required length. Always wear protective gear when cutting metal to avoid injury.
Safety First: Metal edges can be sharp—handle with care and wear gloves to protect yourself.
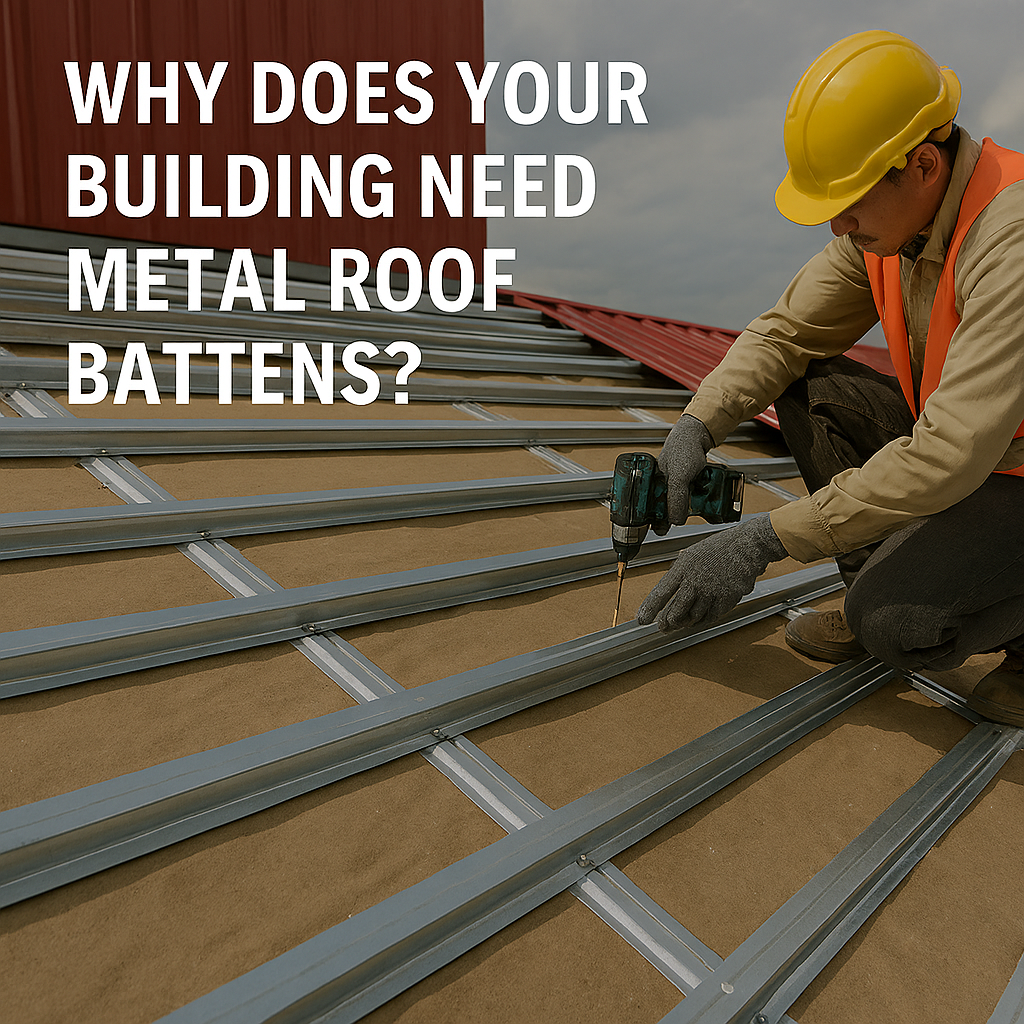
4. Fix Ceiling Clips or Brackets
Depending on your ceiling system, you’ll need to install ceiling clips or brackets to hold the battens in place. These are usually fixed to the structural ceiling or roof trusses using self-drilling screws.
Ensure that clips are aligned with your chalk lines and spaced according to your layout plan.
5. Attach Metal Ceiling Battens
Snap or screw the battens into the ceiling clips. When using screws, ensure they’re evenly spaced and flush with the batten surface to prevent interference with ceiling boards later.
Check each batten for levelness as you go. Adjust clips or brackets if needed to maintain a consistent ceiling plane.
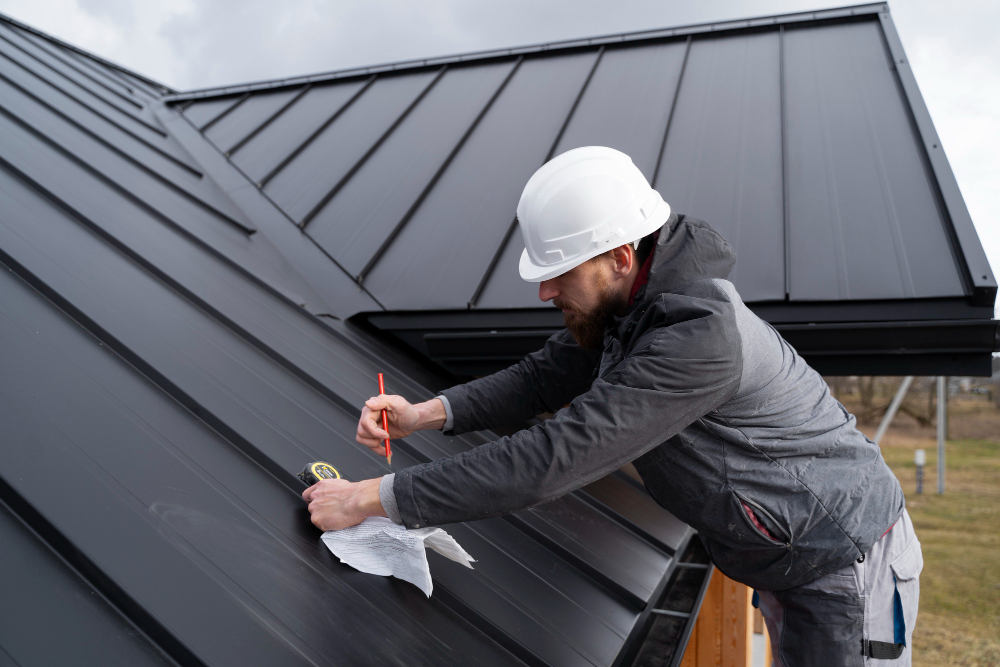
6. Double-Check Alignment and Stability
Once all battens are installed, do a final check for alignment and stability. Walk under the framework and visually inspect for any sagging or misalignment.
Use a laser level or straight edge to confirm that the battens form a flat, even surface.
7. Install Ceiling Sheets
With the battens securely in place, you can now fix your ceiling sheets—whether they’re plasterboard, fiber cement, or other materials. Screw the sheets directly into the battens, following the manufacturer’s instructions for spacing and screw placement.
Common Mistakes to Avoid
a. Skipping the layout step: Poor planning leads to uneven spacing and alignment issues.
b. Using incorrect fasteners: Always use self-drilling screws designed for metal.
c. Ignoring safety gear: Metal work can be hazardous protect yourself.
d. Over-tightening screws: This can deform the battens and affect the ceiling finish.
e. Neglecting level checks: A crooked ceiling is costly to fix later.
Avoiding these pitfalls will save you the time, money, and frustration.
In conclusion
Installing metal ceiling battens doesn’t have to be complicated. With the right tools, a clear plan, and high-quality materials from Ezi-Batten, you can achieve a flawless ceiling that stands the test of time.
Contact Ezi-Batten today to get expert advice and order premium metal ceiling battens for your next project.
Recent Posts
Categories
- metal roofing suppliers 8
- gutter and fascia replacement 3
- metal roof batten 16
- top hat battens 1
- metal fascia 2
- steel roof batten 35
- roof battens and purlins 7
- insulated roofing panels 23
- sandwich roofing panels 15
- roofers bracket 3
- gutter accessories suppliers 11
- metal ceiling battens 5
- metal fascia for modern roof 2
- Uncategorized 10
- metal roof insulation blanket 4
- cladding building materials 2
- top hat roofing 2